Repairing a Jailbar SE/30
I stumbled upon an SE/30 being sold at an incredibly low price because it wasn't working. Despite already having a few of these that I hold dear, I couldn't resist buying it with the intention of trying to fix it and then passing it on to someone else. After all, the SE/30 is the best mac, by far the fastest compact mac. And the mac for which I originally created MacFlim. To be honest, the SE/30 is my favorite computer.
External Examination #
The machine easily boots up without any beeps and exhibits a common aging flaw of the SE/30: the jailbar pattern.
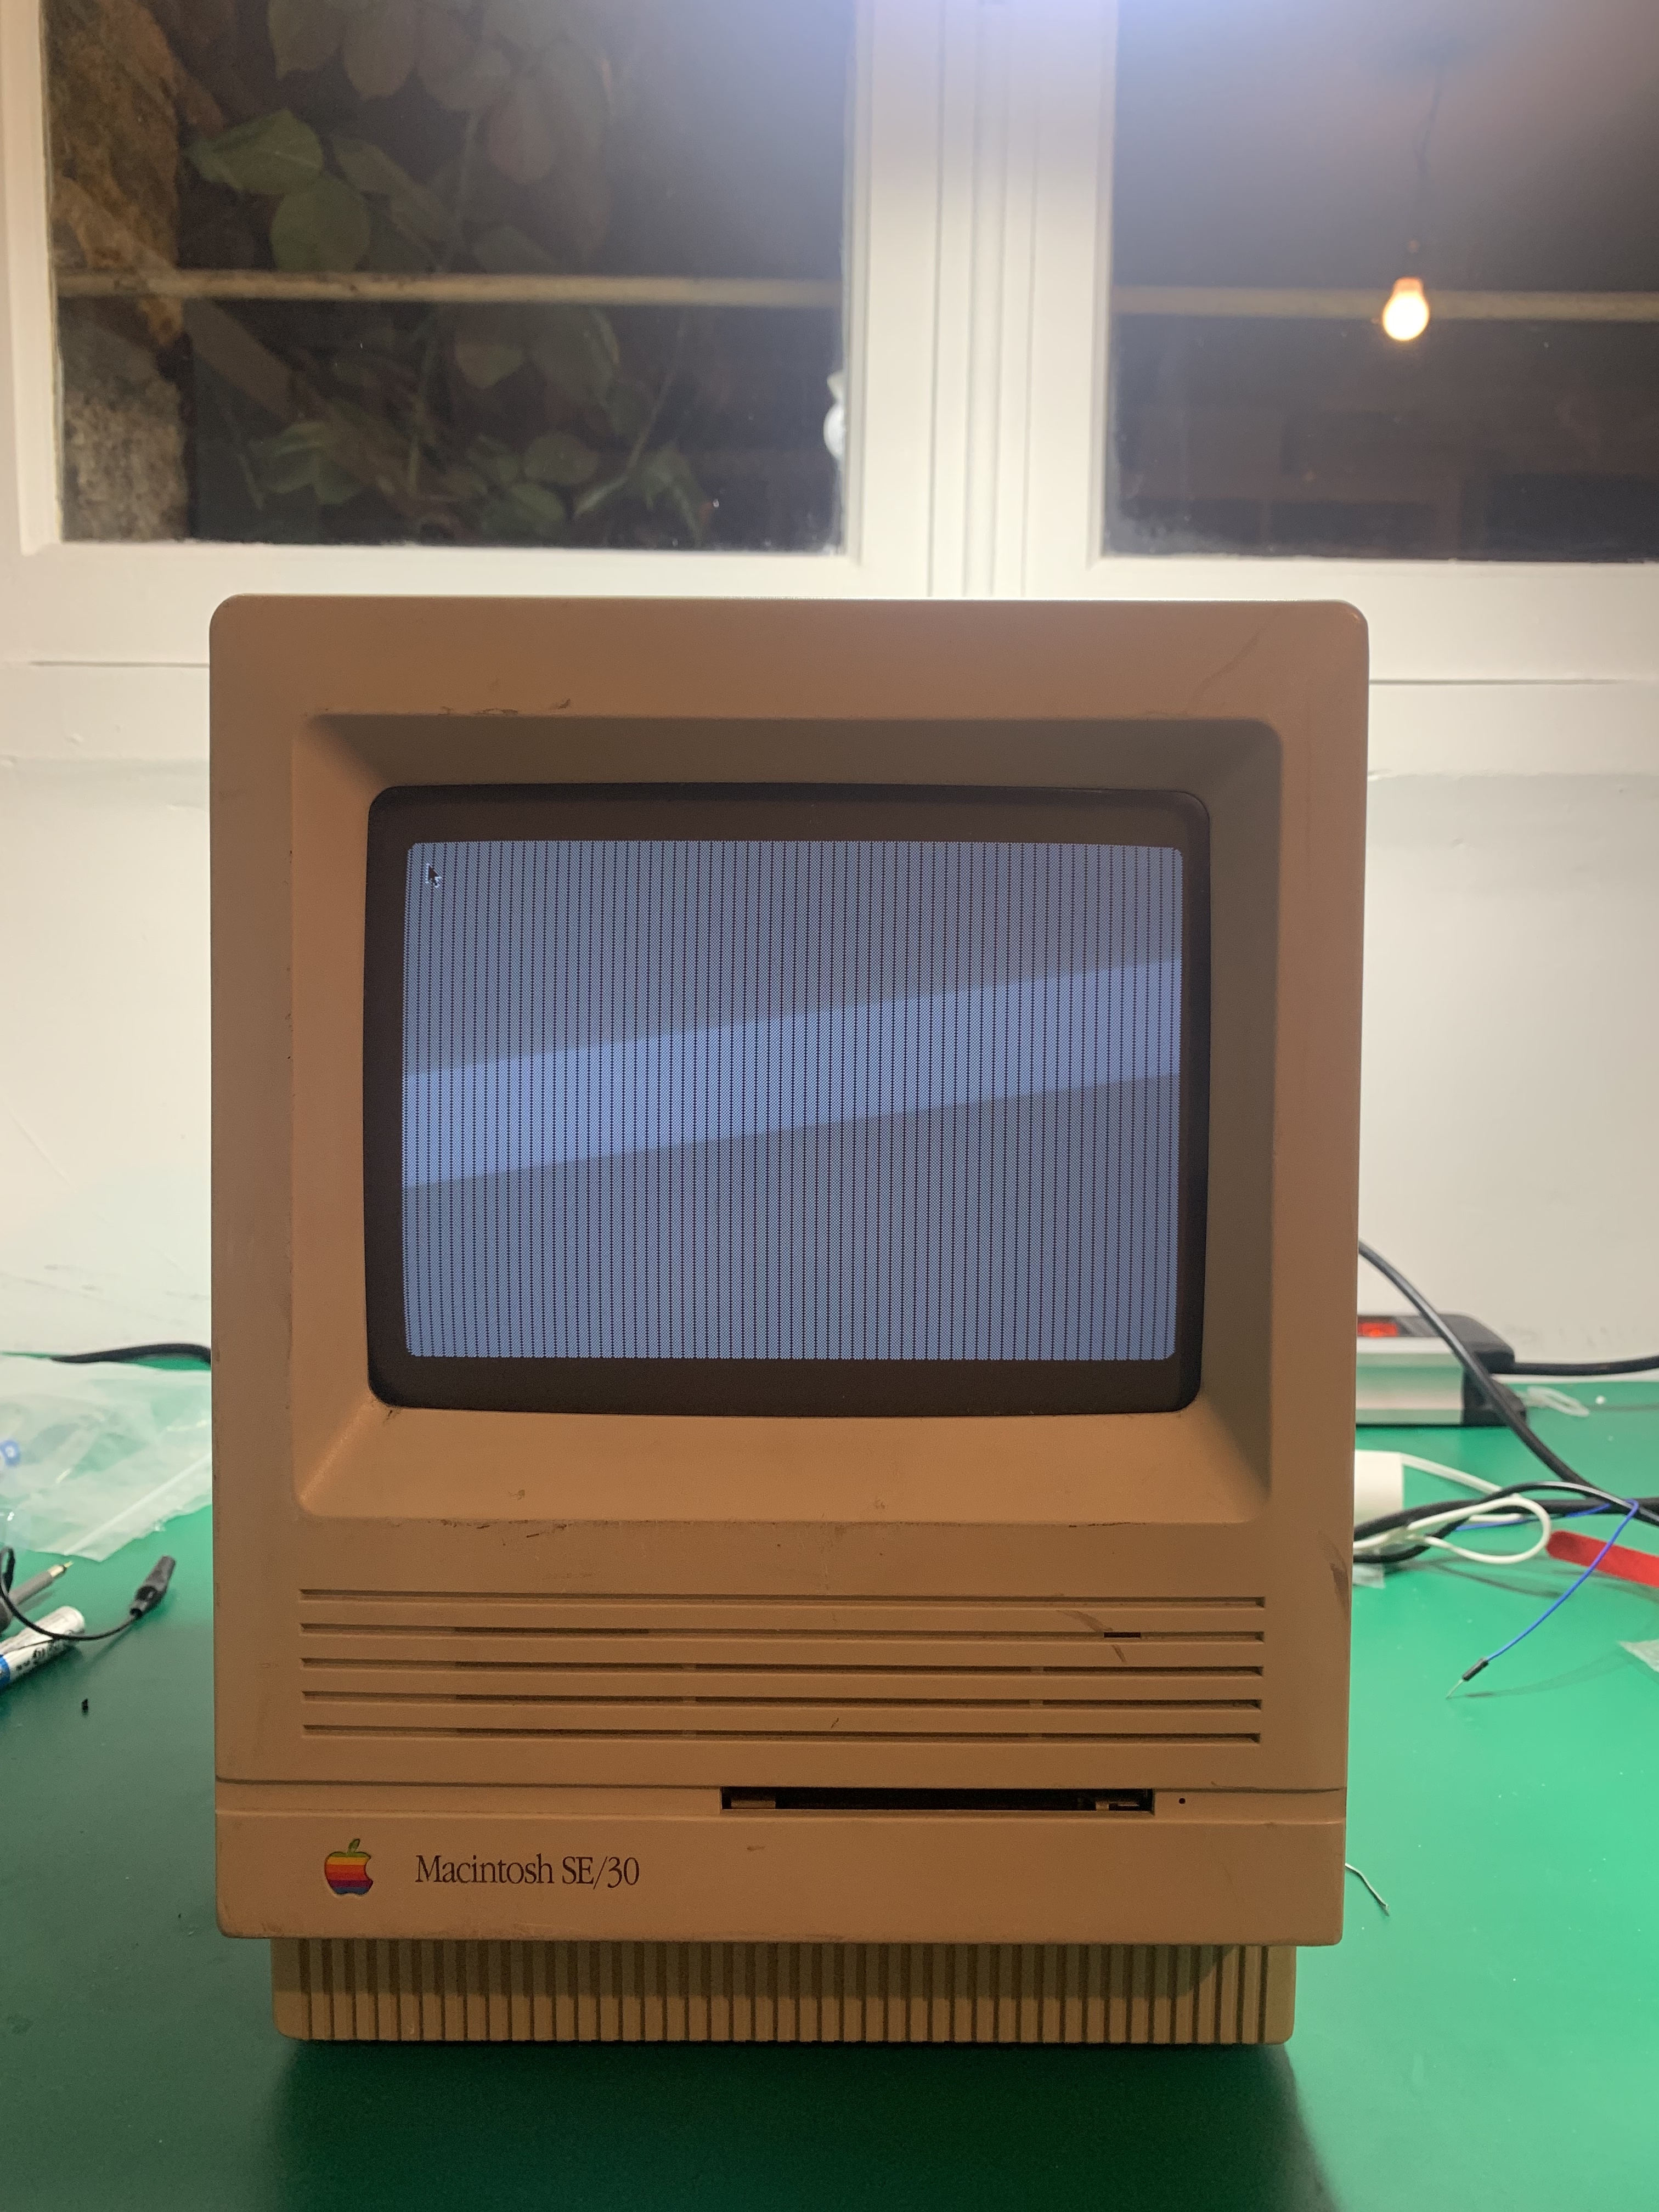
Upon closer inspection, it becomes evident that there is a missing vertical line every 8 pixels:

This indicates a problem at the VRAM level, where the data in the VRAM is not being correctly output to the video hardware.
It's worth noting that connecting a hard drive allows the machine to boot to the Finder, indicating that the damage might not be extensive.
Now, it's time to open up the machine!
Internal Examination #
The interior of this Mac is suprisingly clean.
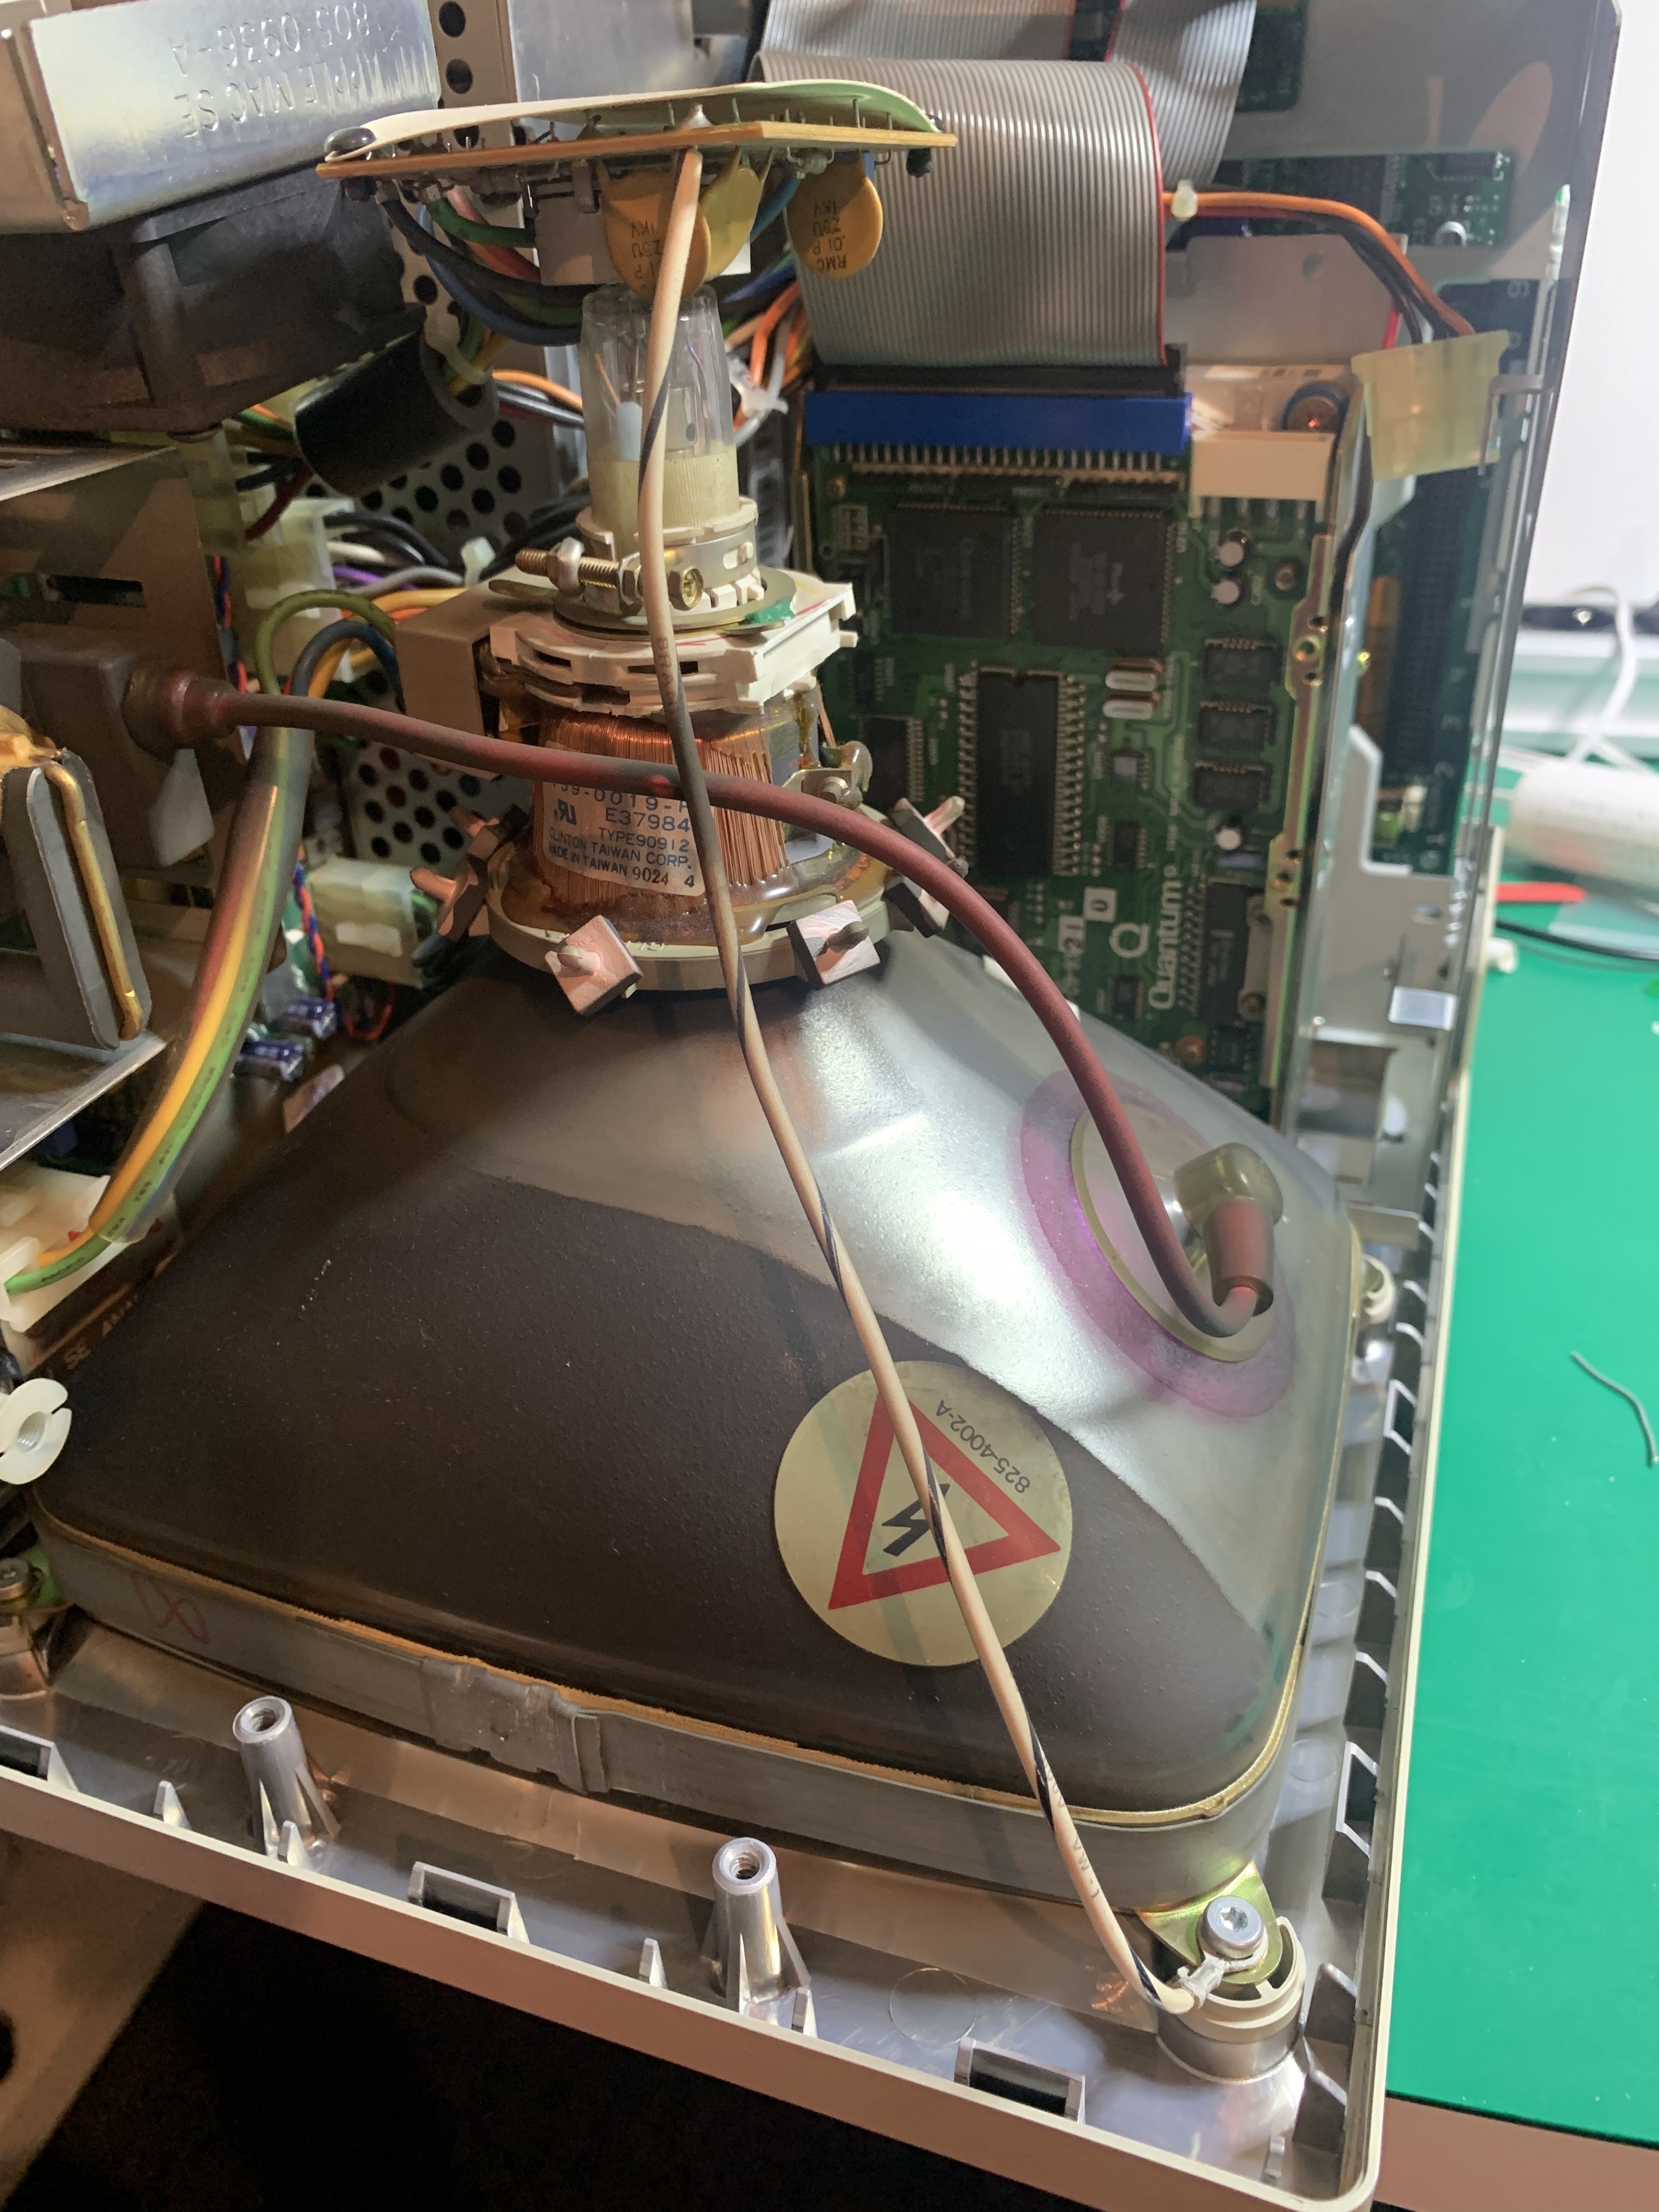
Either it has seldom been used, or the previous owner cleaned up the interior, possibly while troubleshooting the issue.
The fan is a bit noisy, a common occurrence with these older machines. Fortunately, it can be easily replaced with a modern alternative.
The motherboard appears to be in good condition and well-maintained.
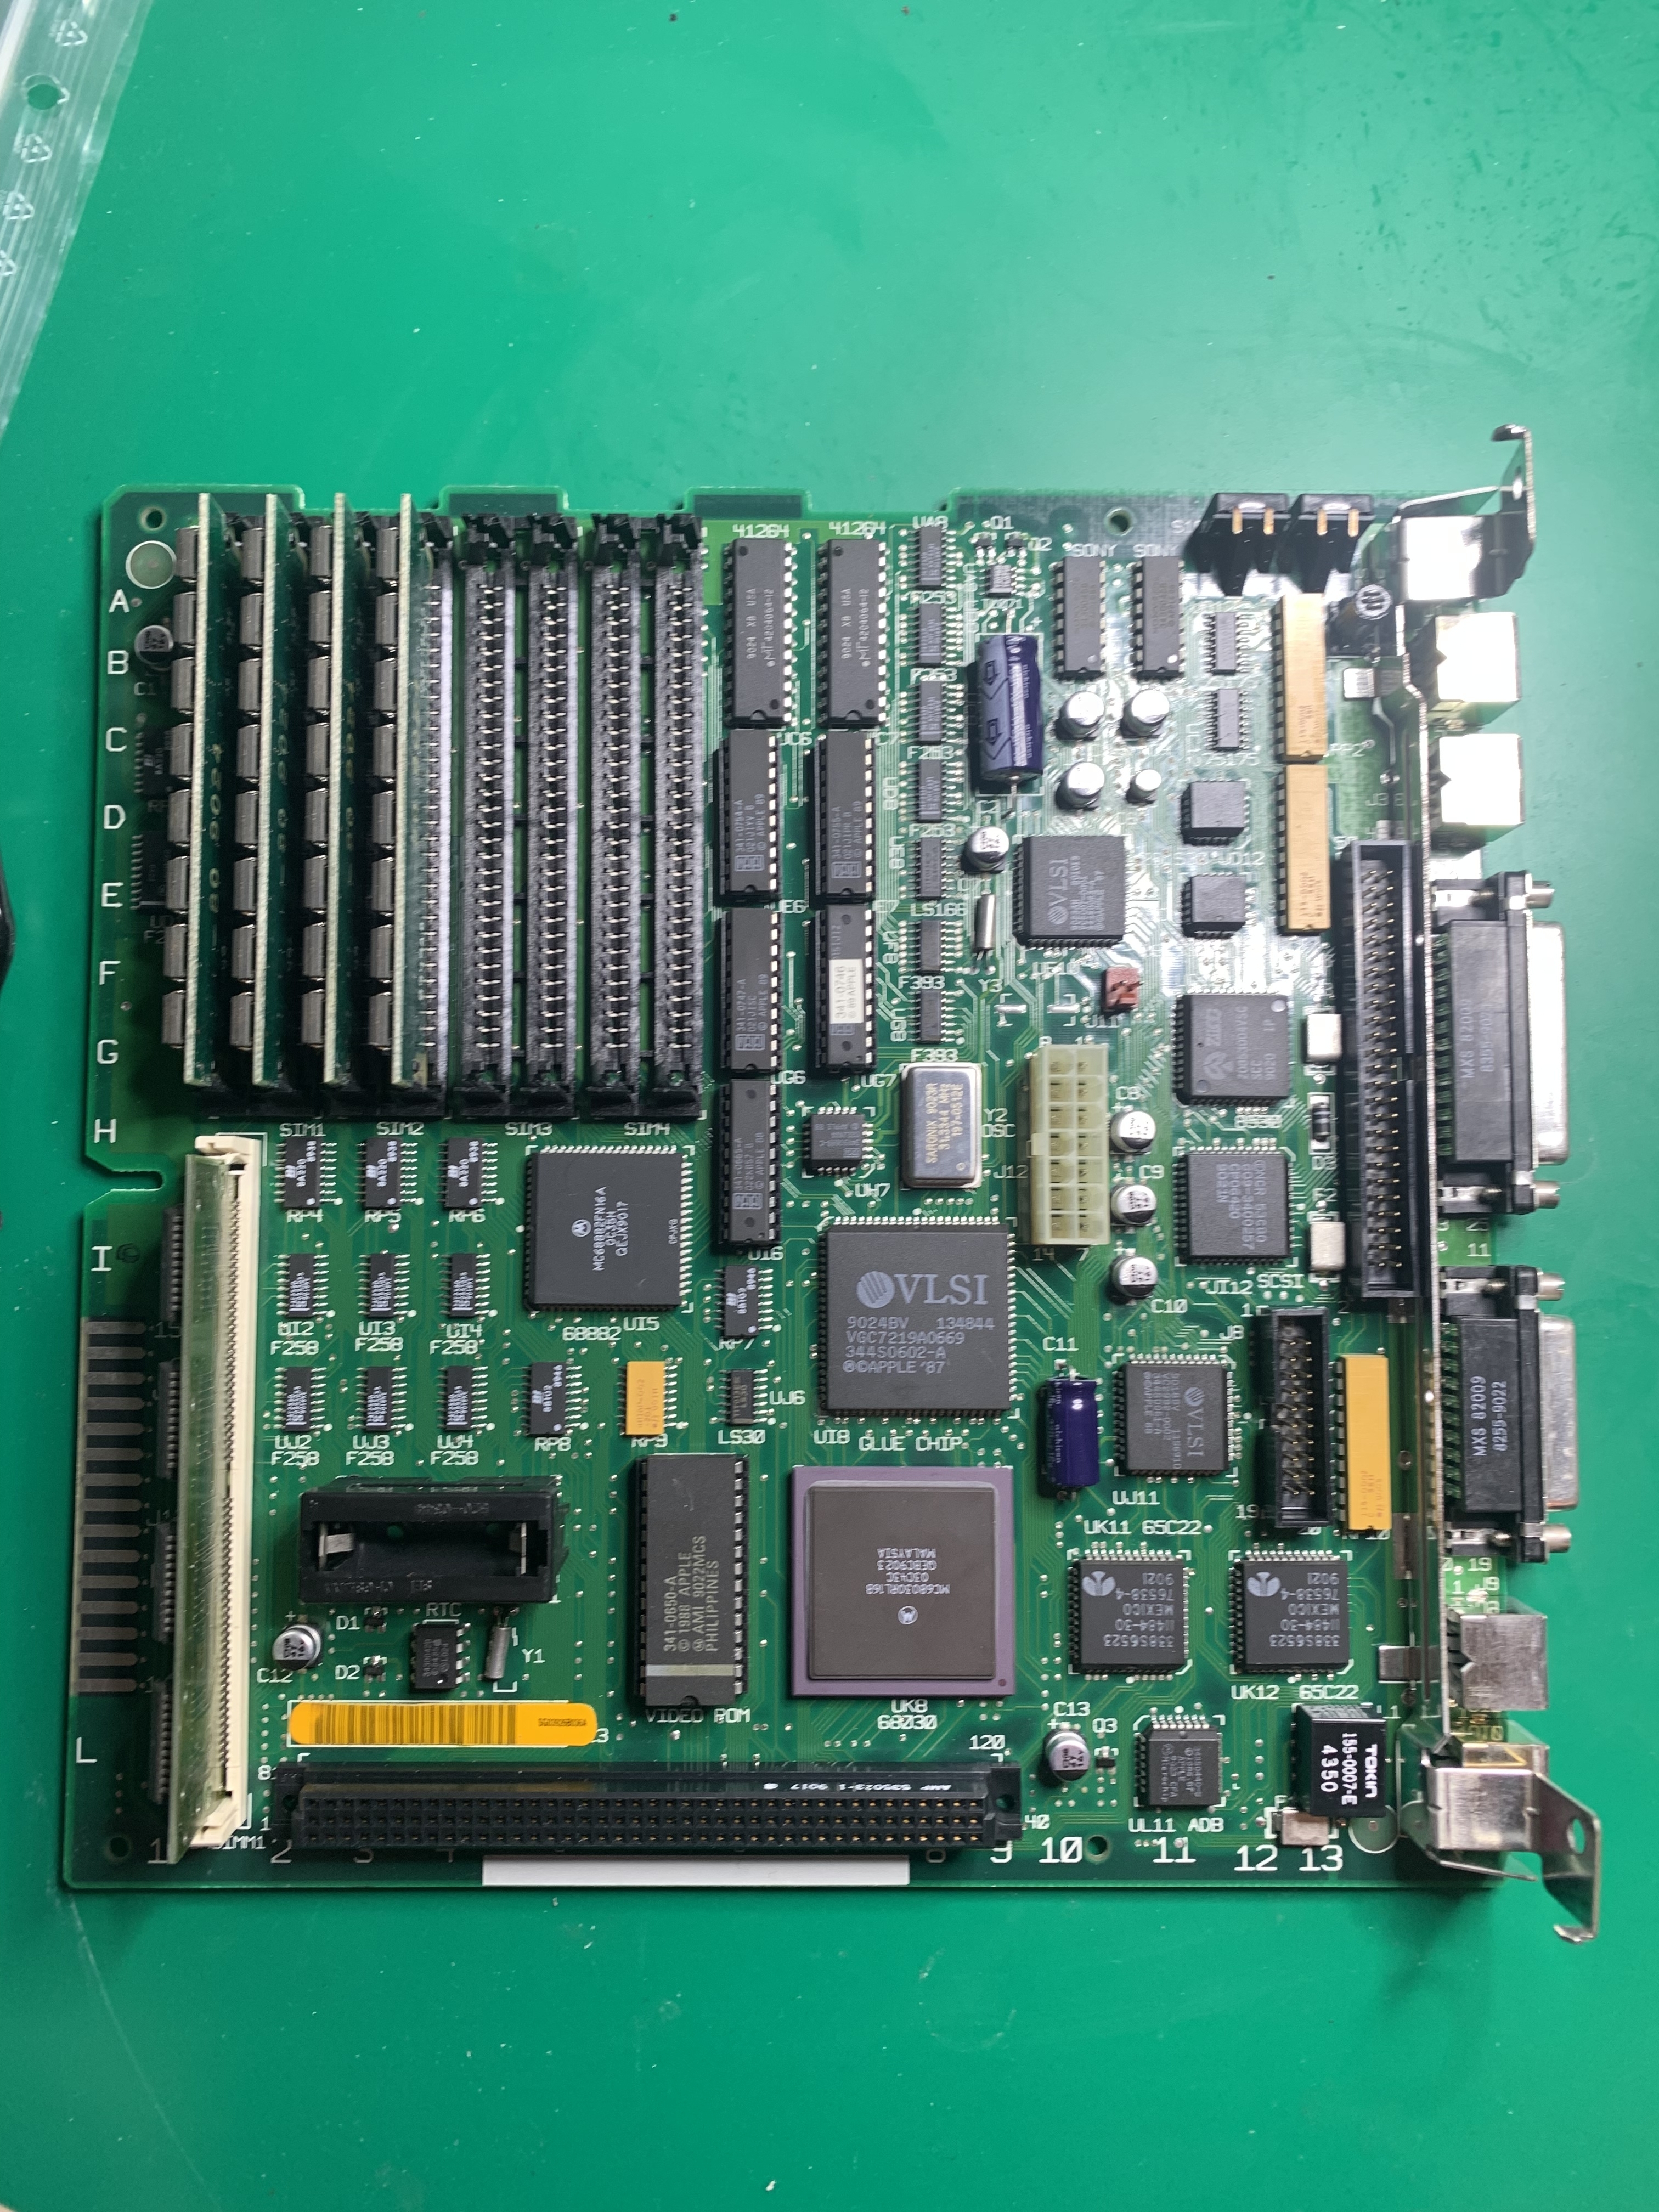
Old Macintosh computers from the 1990s are known to have leaky capacitors, which gradually release a corrosive substance onto the motherboards. The absence of sound is a clear sign that these capacitors have leaked. Specifically, the four round capacitors located in the top-right corner of the motherboard are responsible for sound output. Replacing these capacitors usually restores the sound functionality.
Yep, even though the motherboard seems clean on the surface, it's actually corroding bit by bit. Those caps really should be replaced ASAP to avoid more damage.
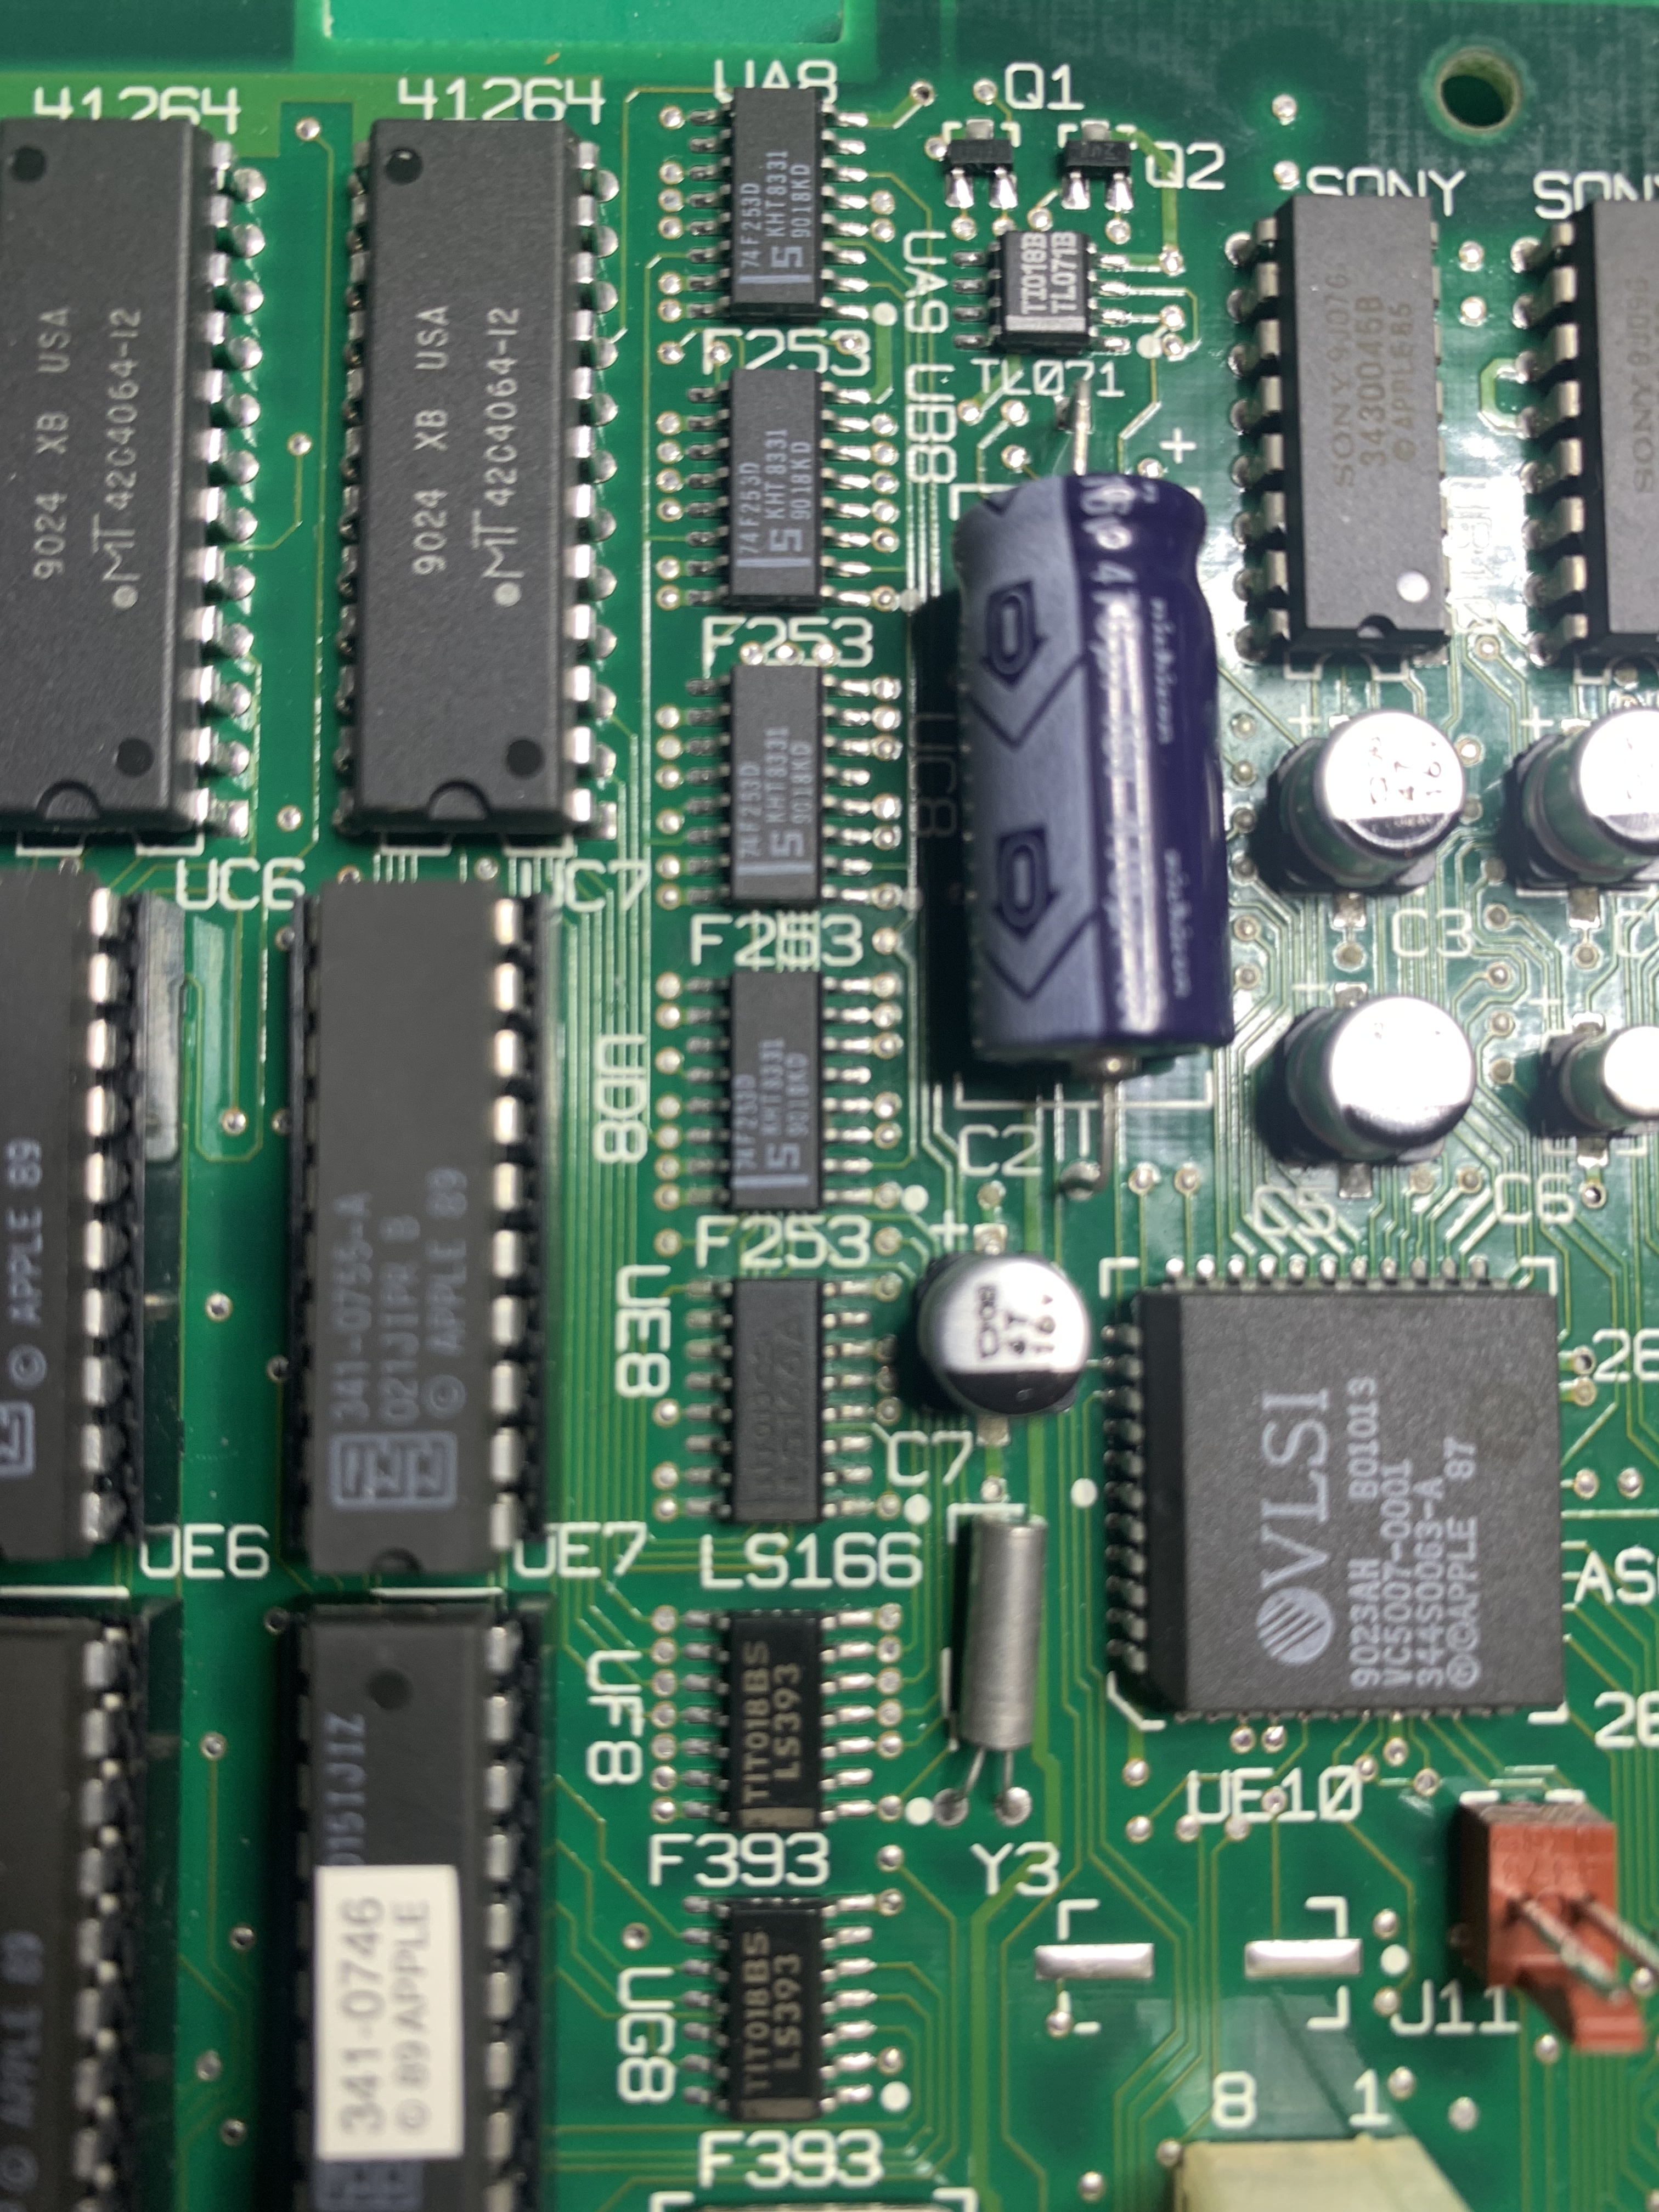
The two 41264 chips up in the top left corner (UC6 and UC7) are the video RAM chips, and the vertical row in the middle houses various support chips like buffers. Keep a note of the location of the C7 capacitor.
Time to get the oscilloscope out! #
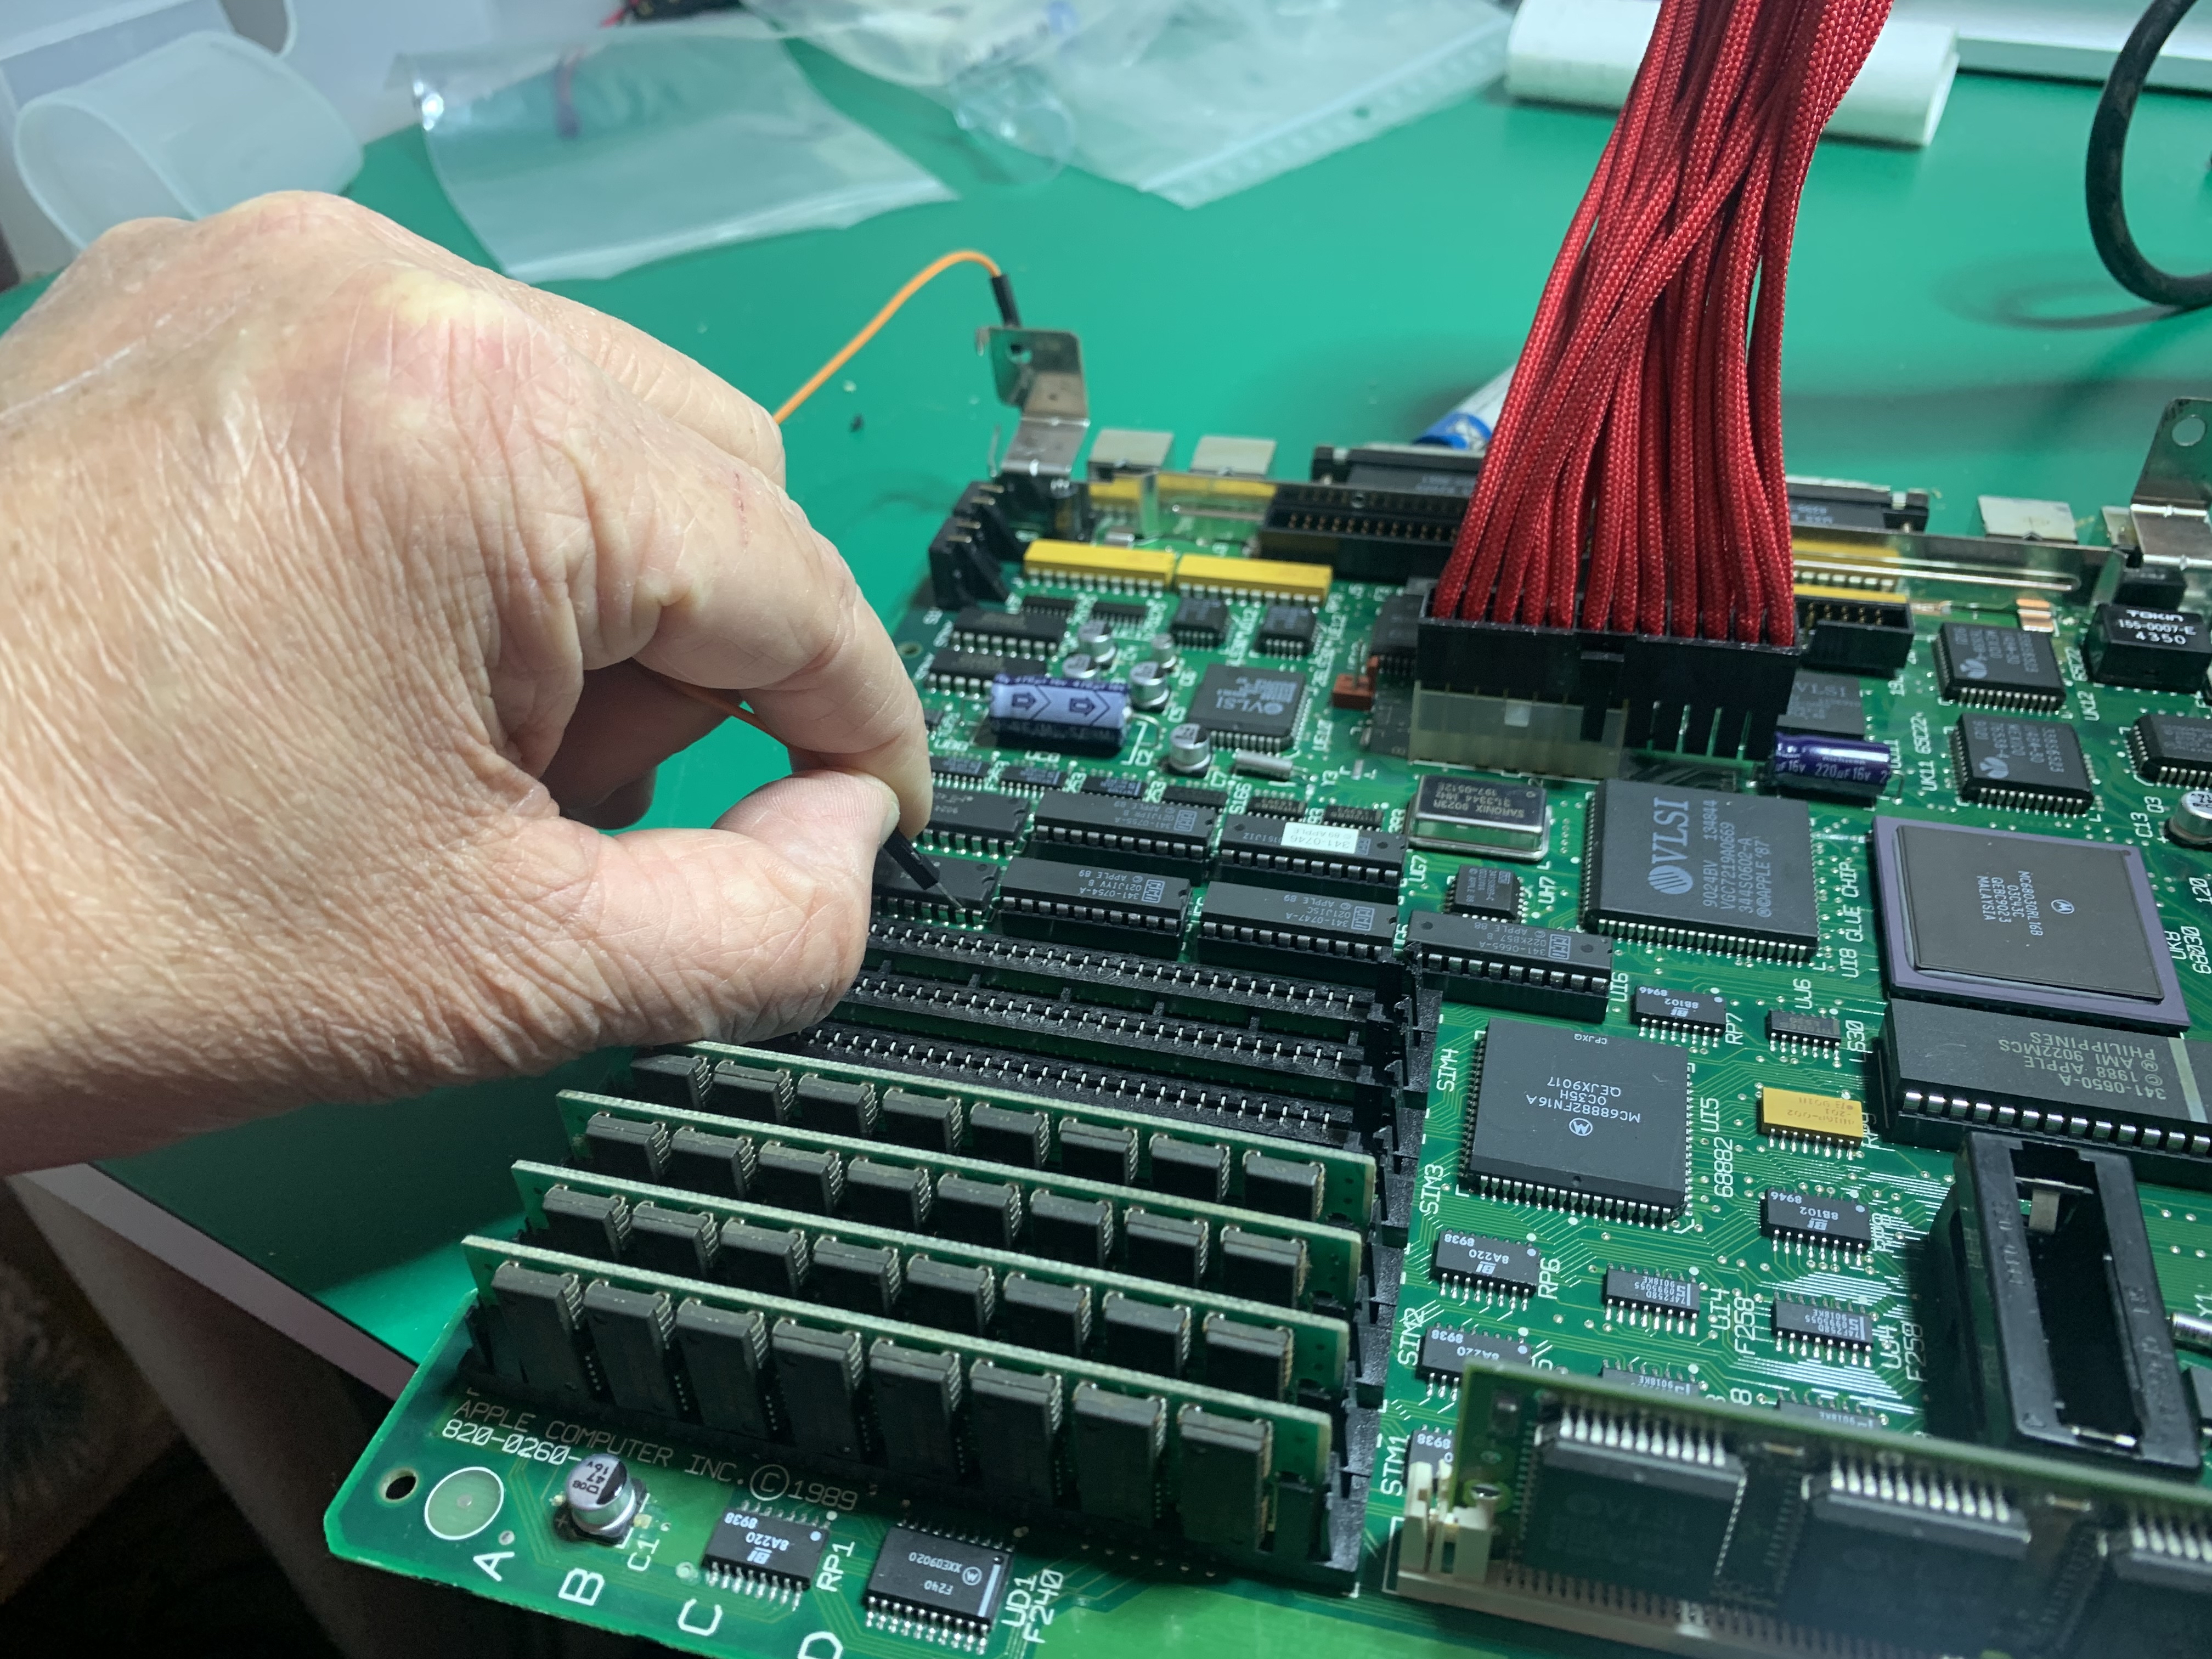
Working on a powered-on Mac can be quite tricky because of the short cable lengths. Here is an insider tip for you: use an ATX connector between the analog and logic boards:
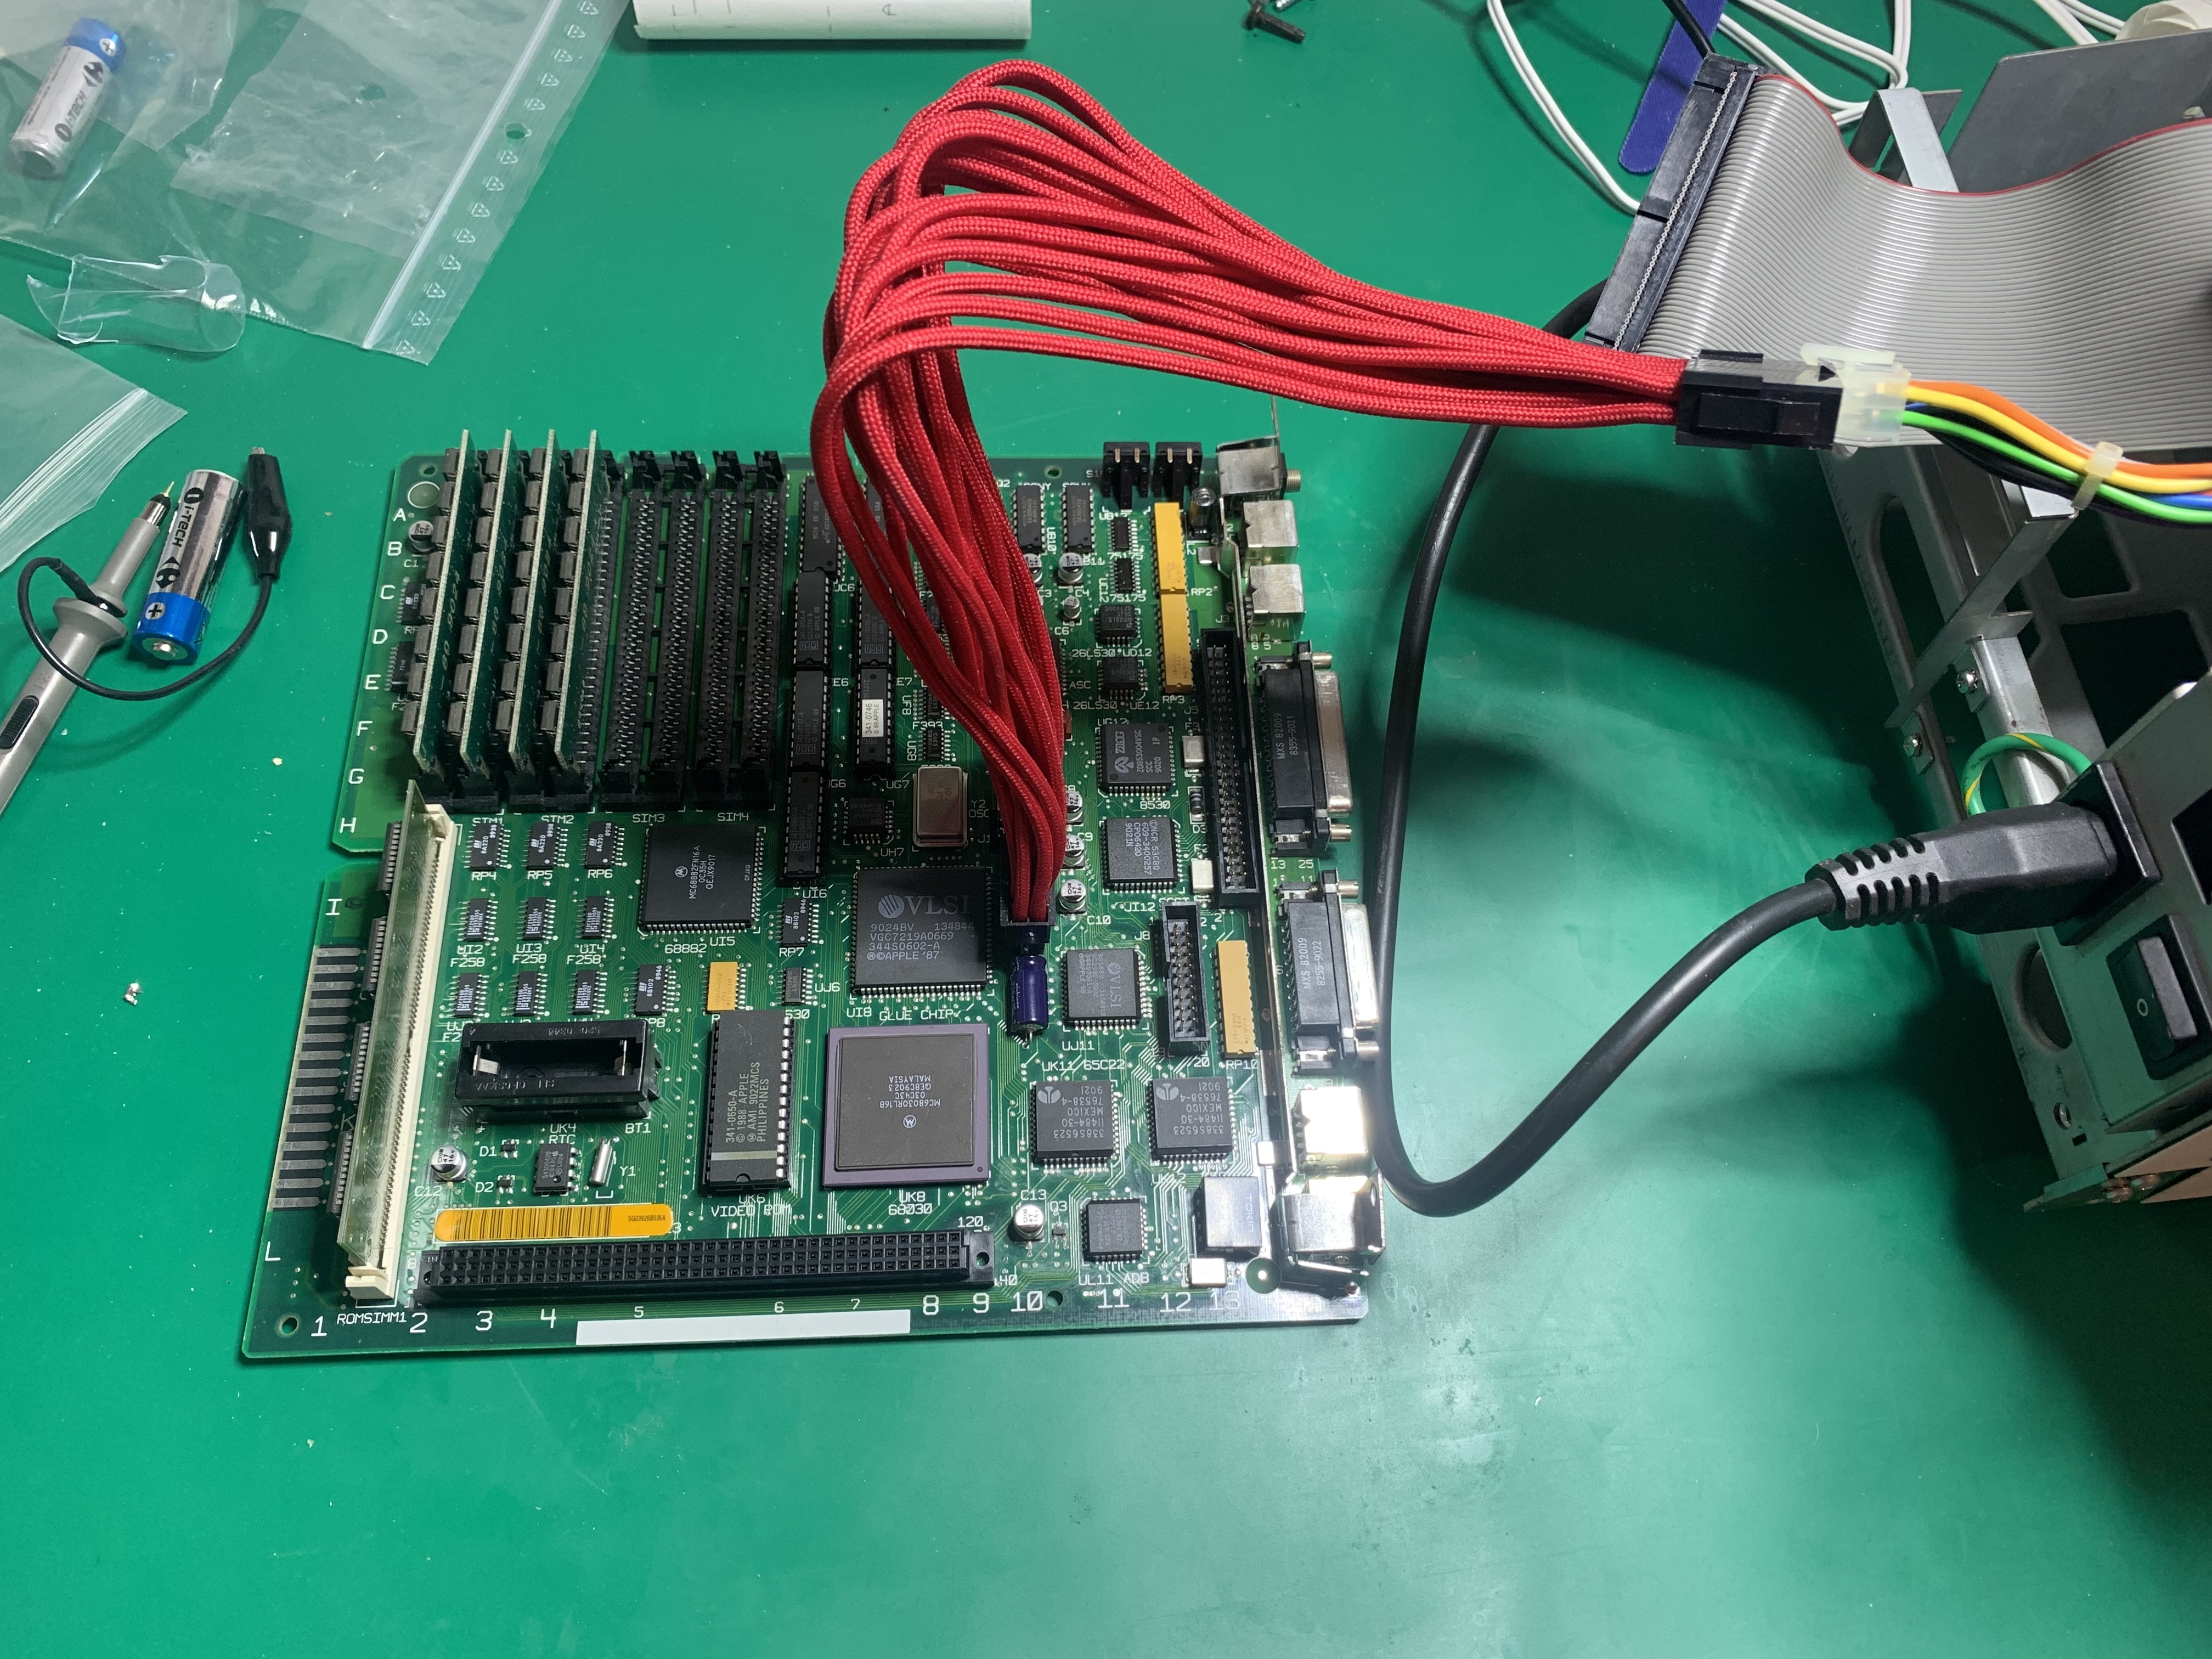
Each VRAM chip consists of 4 bits. Let's examine their outputs using an oscilloscope.
I used the RAM chip documentation to get the correct pins

All 8 outputs displayed a similar pattern, indicating that the problem lies beyond the VRAM. The signal corresponds to the 0-1-0-1-0-1 pattern of the background.
Finding the right broken bit #
Let's identify which downstream bit is being ignored.
We'll proceed by shorting each output bit one by one. When a bit is shorted, it represents a zero bit, which in the Macintosh context is interpreted as white (since Macintosh displays conceptually feature black text on a white background).
Each time I short a bit, we should see a vertical white line appearing on the screen, as illustrated below:
However, there is one bit that remains unchanged even when I short it:


So, now we have a clear understanding of which pin's signal gets lost.
Finding where the bit gets lost #
By crossing the doc linked above and the schematics, we can understand what goes where.

Upon examination, it becomes evident that SO1 on UC6 is not properly connected as it should have been to UE8. A manual trace check confirms the absence of connectivity. When testing the other 7 bits, we observe proper connectivity.
The obvious conclusion is that the trace is broken between those two points:

Creating the connection manually resolves the issue:
Fixing the issue #
So, we need to manually re-establishing the connection between those two points, by adding a "bodge" wire.
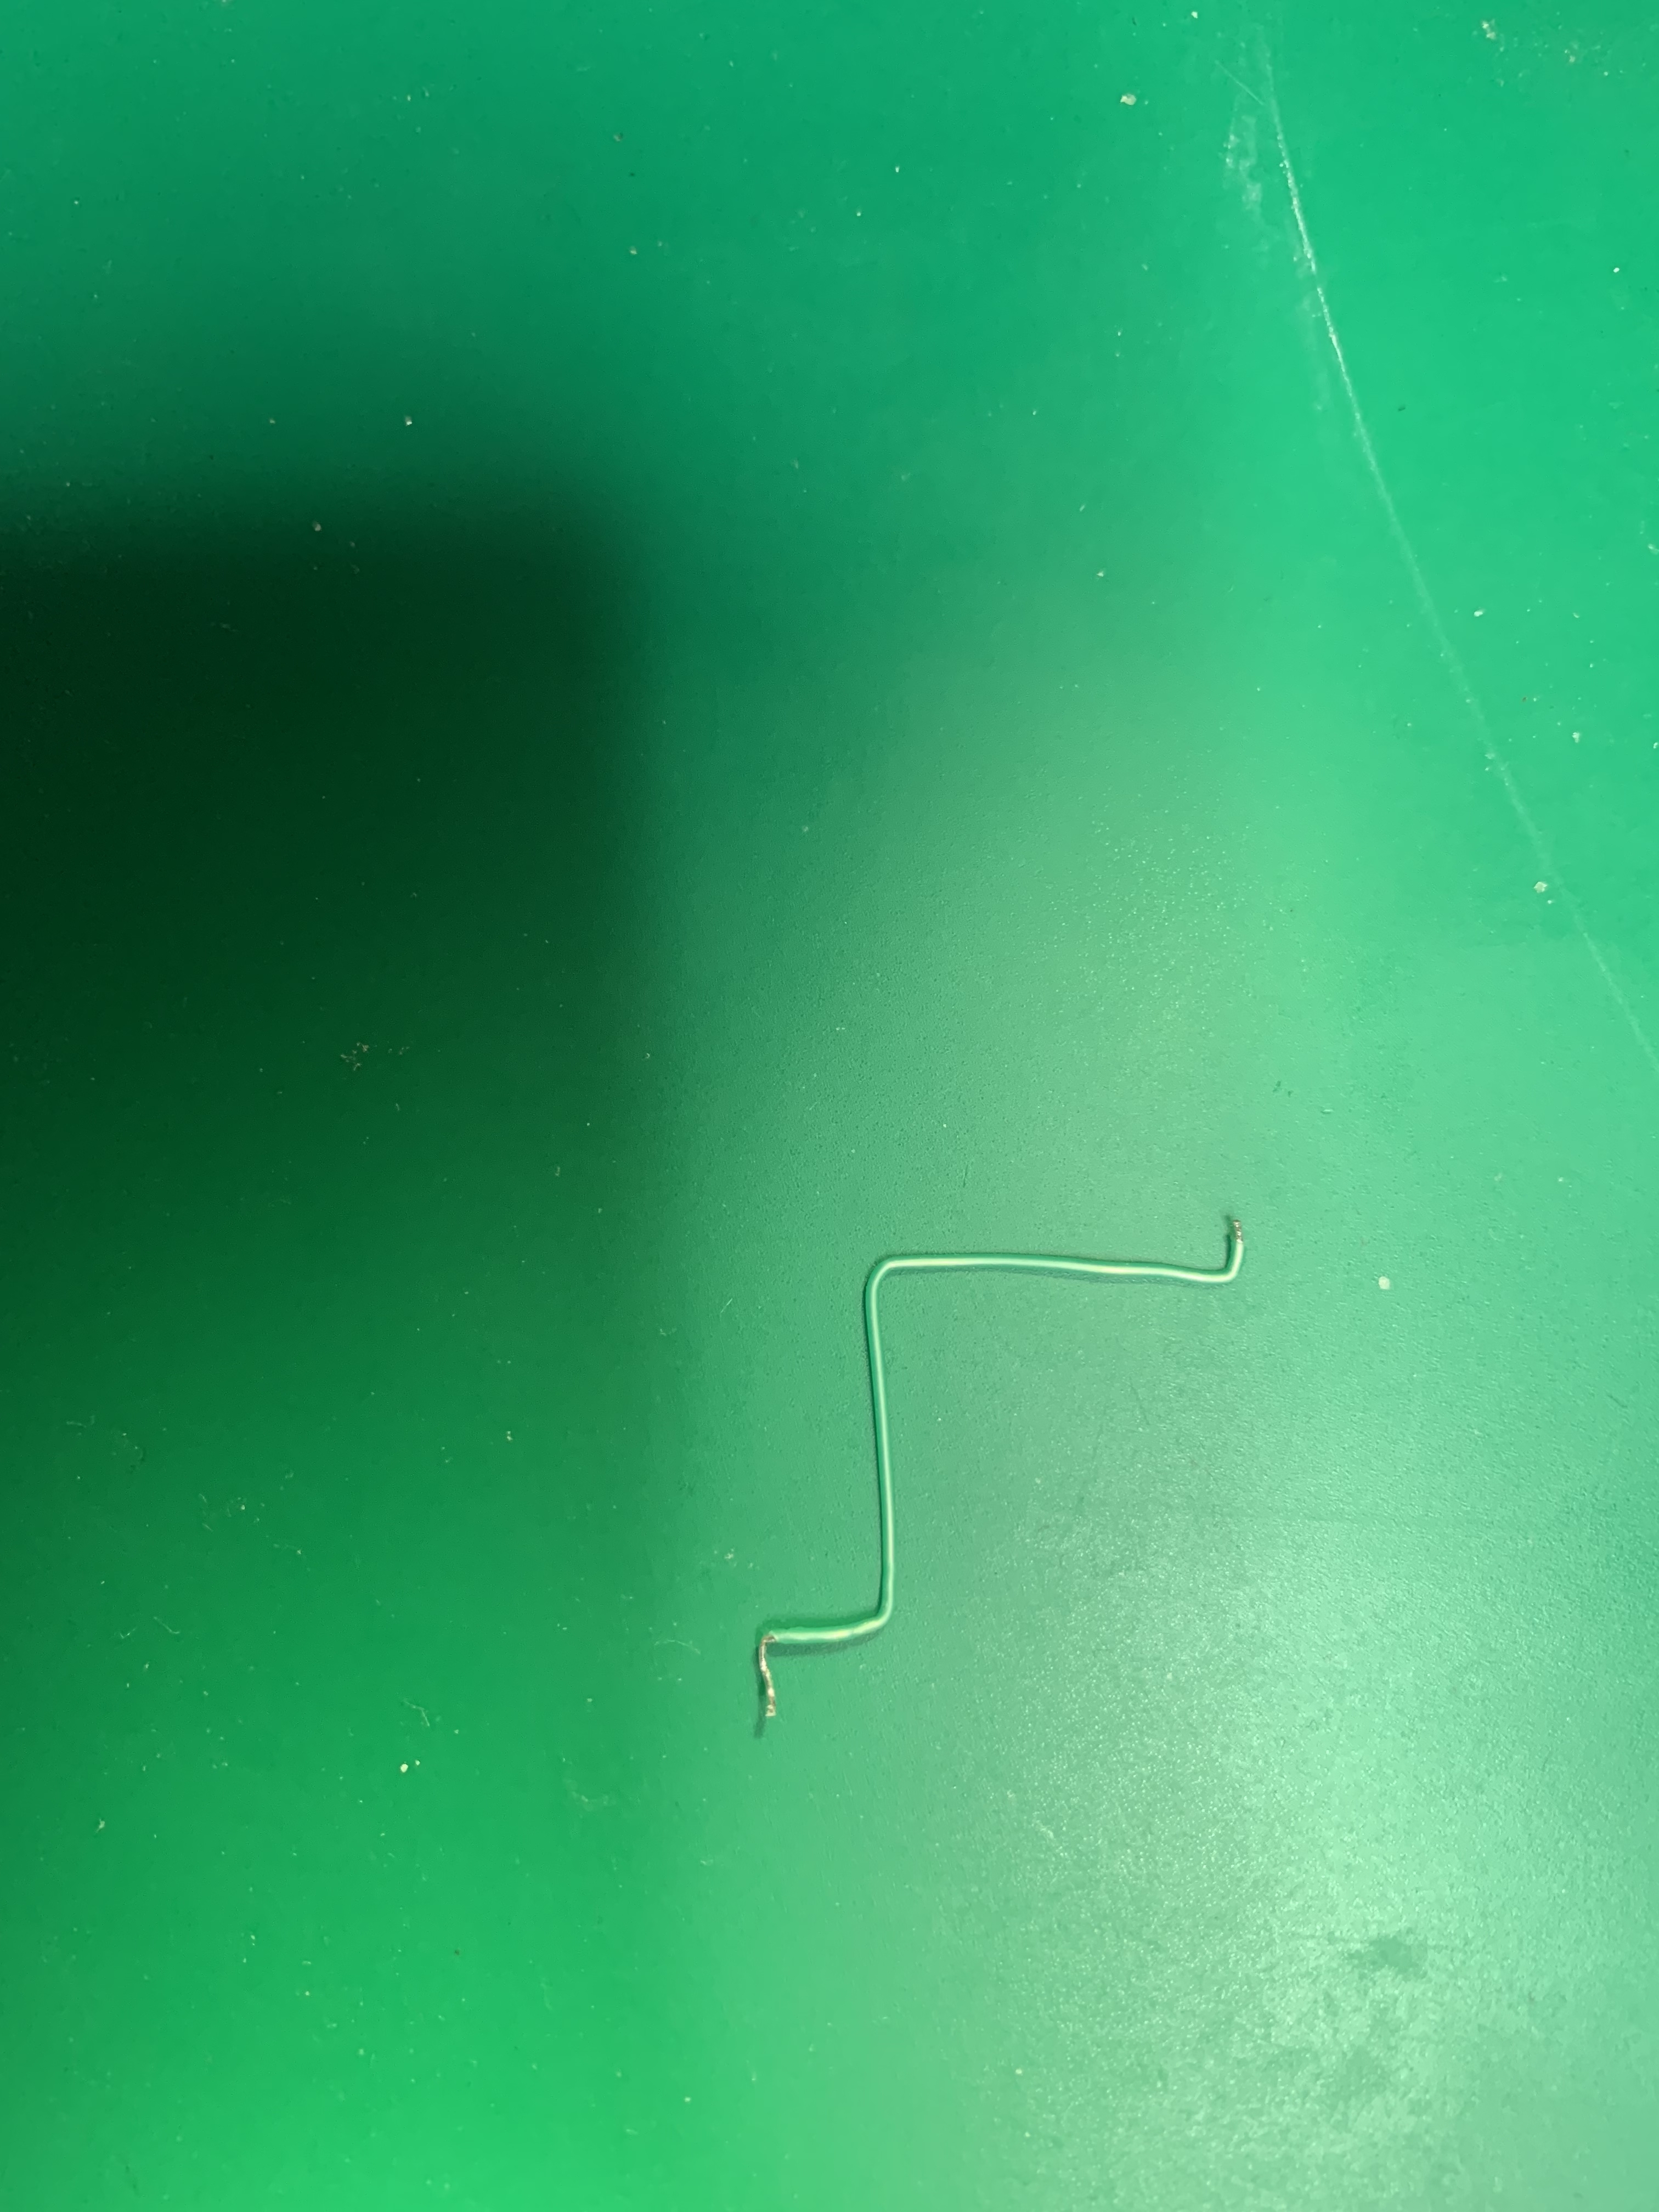
This was my first time doing a bodge, and I'm quite content with the result! Now, we just need to solder it into place.

Took a couple of attempts to solder, and I'm hoping it will remain stable for a good while...
Checking #
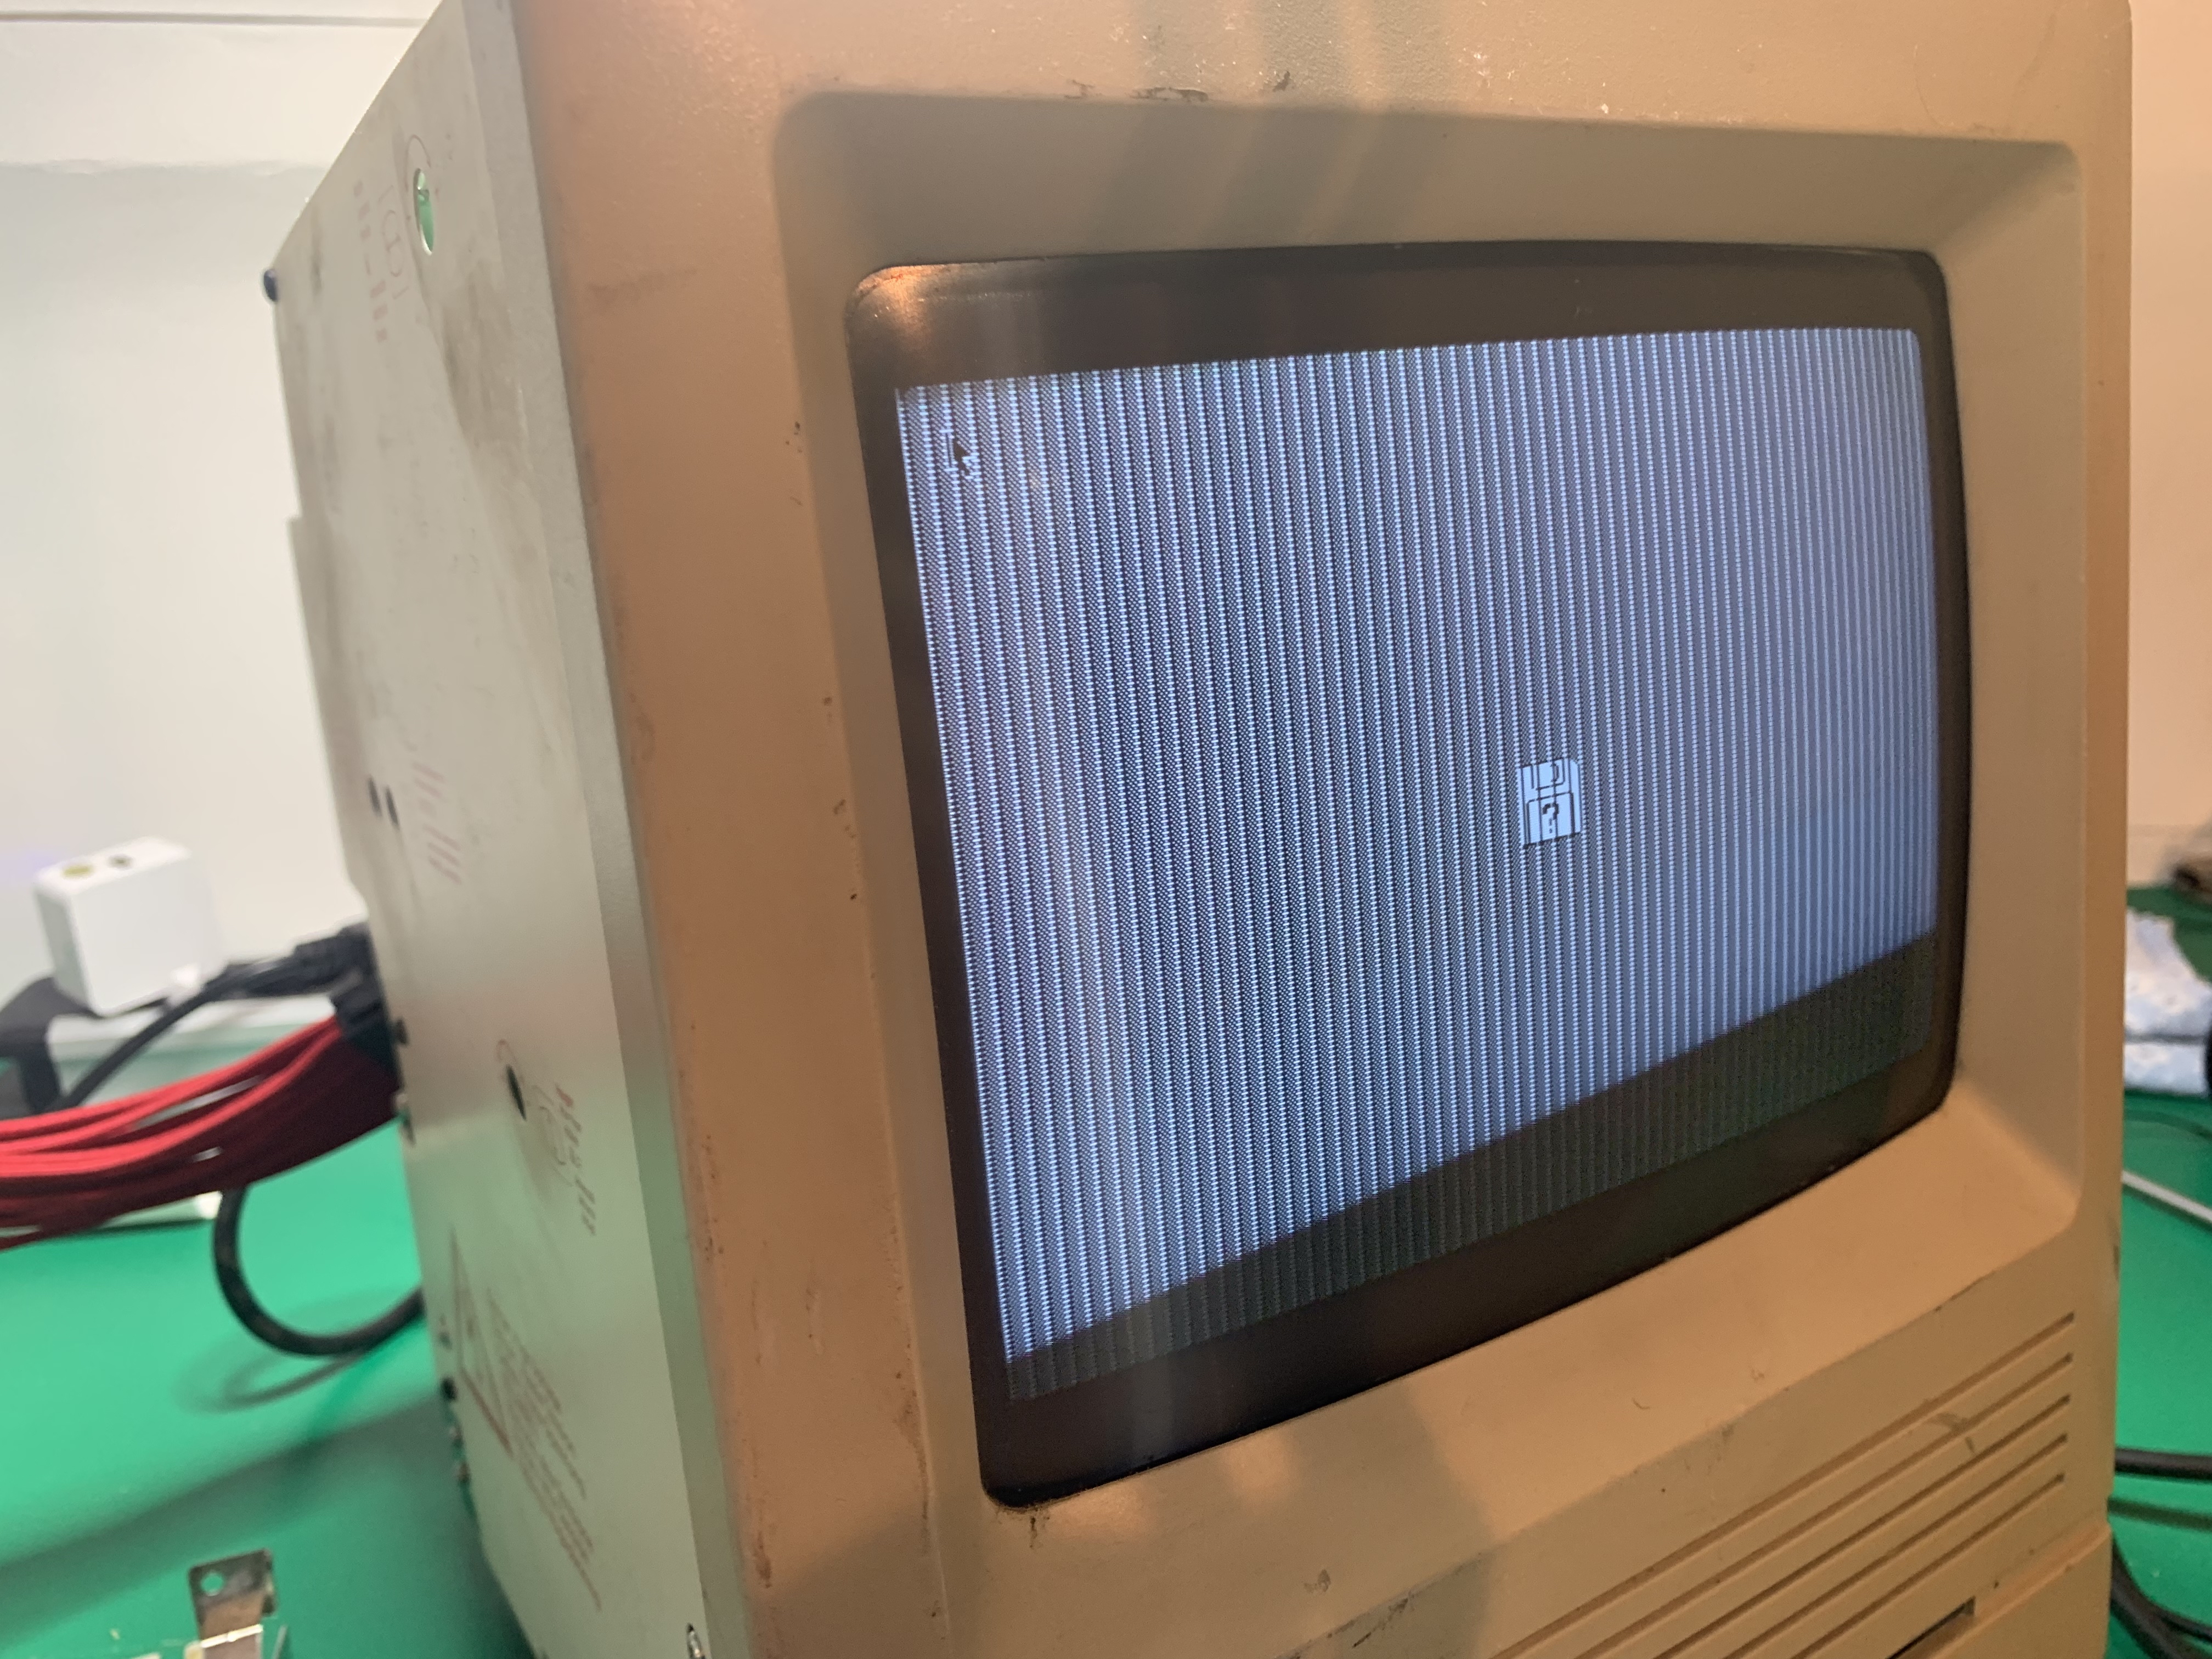
Just powering up the machine, and miracle:

Wasn't that difficult, honestly. It took around 20 minutes to diagnose and probably around 30 minutes to fix.
Conclusion #
So, we had a broken trace between UC6 and UE8. Note how close UE8 is from the C7 capacitor. These capacitors are notorious for leaking. Additionally, with no sound, it's apparent that the C7 capacitor has indeed leaked, causing corrosive liquid to damage a trace, likely situated beneath the UE8 chip
If you love your Macs, you change their Caps!